Disable Automatic Repair in Windows 10 If you are not interested to go through the automatic repair process, then can disable it from the command prompt as shown below. This is especially useful if your system seems stuck in the infamous “Preparing Automatic Repair” loop. Here’s how to do it:
How to access more options: Turn on your computer and interrupt the boot process three times in a row to start Windows Recovery Environment. Find ‘Troubleshoot’ → ‘Advanced options’ → and select the Command Prompt option.
Turn off automatic repair: At the command prompt window, type the following command.
C :>
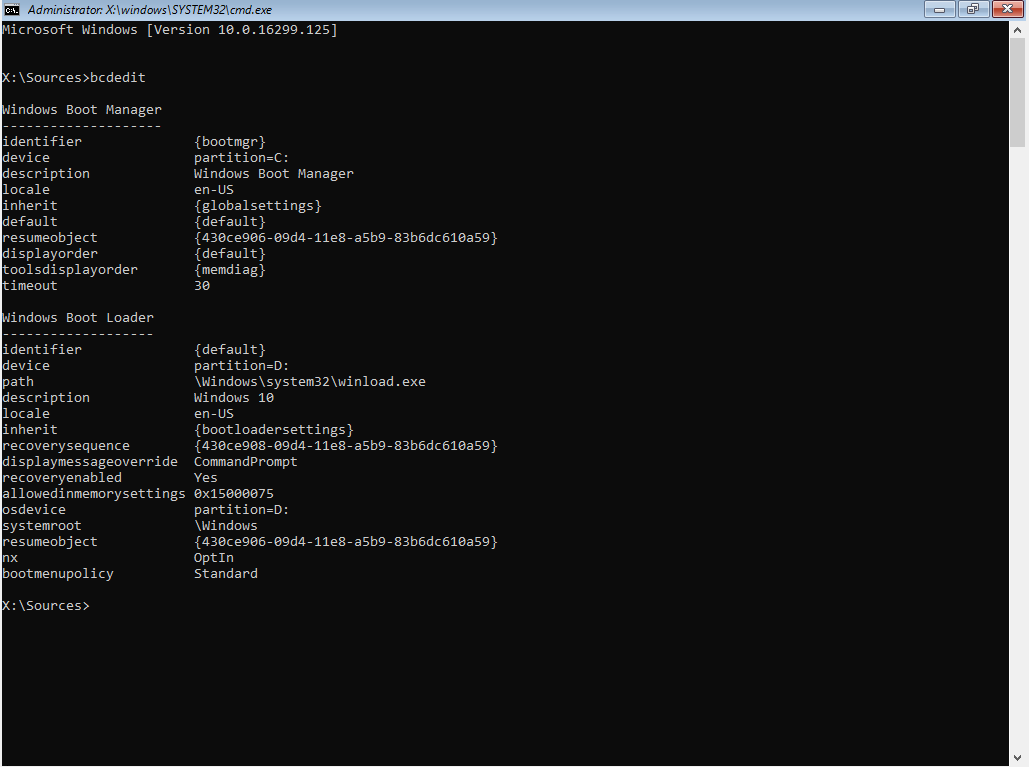
bcdedit /set {current} recoveryenabled No
Press Enter.automatic repair (ad) This disables automatic repair so you can boot into Windows without it trying to do repairsIDXII.
Exit Now And Use Another Restart: after the command does this type exit and then allow Windows 10 to continue.
Considerations:
The solution is to disable automatic repair (this is only a temporary relief). You might want to investigate the root cause of boot failures.
In case the issue is causing you to disable this feature frequently, there might be some hardware problem or corrupt system files.
This way you can get everything working back again; but always make sure to follow the proper diagnostics so that boot problems do not become your regular morning thing.