The Ultimate DIY Leather Repair Guide
If done correctly and with the proper materials, it is a simple Do It Yourself (DIY) project to repair ripped leather. Well, let us help you in repairing leather tears.
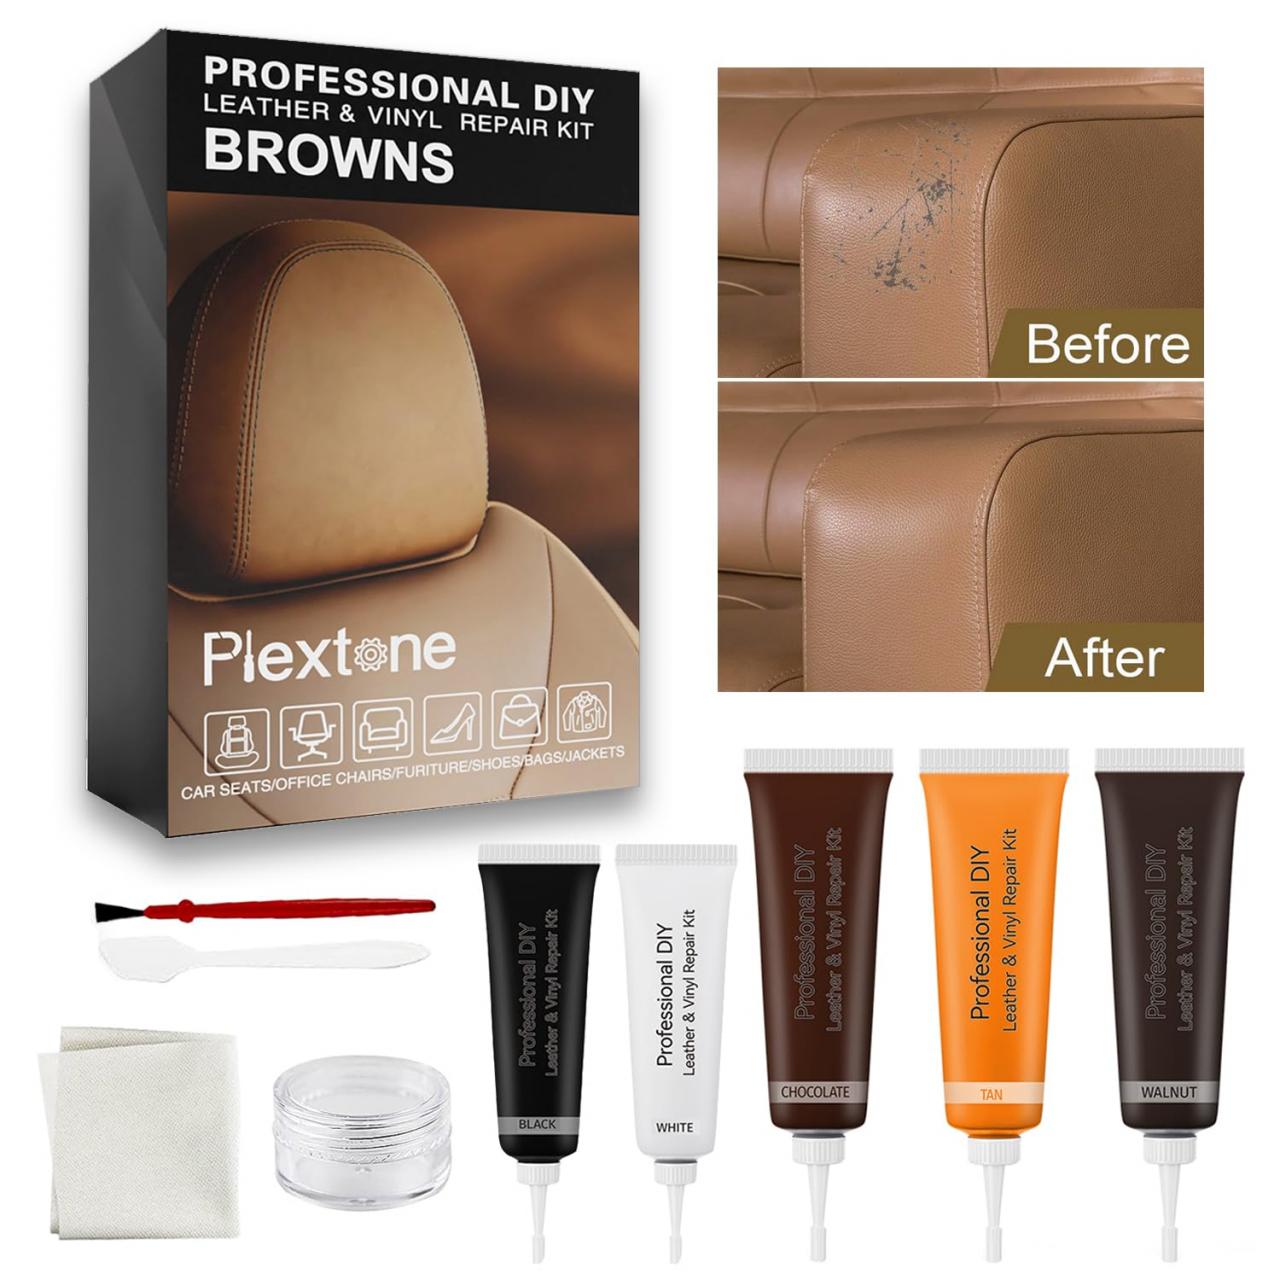
Check The Injury & Select Correct Product
Assess the damage prior to beginning your repair. For small tears, a simple leather repair kit will do the trick. If the damage is greater, or it crosses over to more critical issues, you might need a full leather chair repair kit and this comes with various items designed for larger repairs.
Trim/Prep the Area
Trim any jagged or loose edges with scissors on the damaged portion. Wipe clean the area with a leather cleaner to remove dirt and oils that could inhibit adhesion.
Behind the leather insert a sub-patch
For more severe tears, use a sub-patch behind the leather.Leather Repair (ad) That has the strength so that it supports down through and wont gonna allow your repaircompound to show up.
How to Attach Sub-Patch using Glue
Do so by glueing the sub-patch with a strong adhesive. Align it properly and allow it to set as per instructions provided for setting glueellenvanungeon.biz ».
Use Heavy Filler In The Tear
The tear should be filled with a heavy filler compound. Using a spatula, or palette knife,apply the paste liberally spreading it wide and making sure that all gaps are filled.
Apply Heavy Filler Building Up Each Layer
Make sure to let each layer of filler dry completely before applying more. This one is critical to a slick finish.
Apply Colorant
Allow the filler to dry and then color match your leather (LL). Spray it on with a sponge or an airbrush for perfect coverage. Blending >
Multi layer blending may need to be used
Apply Leather Finish
Complete the repair by applying a leather finish to seal and improve appearance of patched area Lastly, this step keeps the surface flexible and helps stops it from cracking again in future.
Thus, by following the above steps you can restore your leather goods at home without help of any professional.