How to Repair a Rip in a Leather ChairFew procedures can give your chair 100% result on leather repair. If you are looking to refresh your leather furniture, then let us guide with this read about how can easily restore the beauty of old and ugly looking sofas.
Once the damage is evaluated properly, you will be able to select and pick your product.
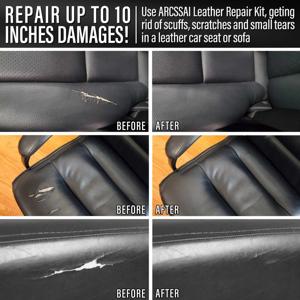
You should first assess the damage of some repair before getting started with it. A simple leather repair kit, such as the Leather Repair Kit could be all that is needed for minor rips versus a more robust solution for bigger tears like to Complete Leather Repair Kit. It is your job to decide the best products that you would want to match the colours and ethic of your leather.
Preparation Steps
Clean the Area: Start by cleaning off any dirt or oils you can from the damaged area using a leather cleaner. This lets the repair materials stick better.
Step 5)Trim Clean Edges: using a sharp scissors, trim any frayed or loose edges from the tear. To provide a smoother surface for repairs
Inserting a Sub-Patch
In any case with bigger tears, you have to place a sub-patch behind the leather:
Cut a piece of fabric or leather that is larger than the tear.
Cutting it to size, apply the patch with tweezers using as a backingBehind-Tear ensuring that it is laid flat.
Applying Adhesive
And after the sub-patch is placed at its position
Secure it in place with a flexible leather adhesive. The glue used must be strong, but also able to move as needed with the leather.
Put the edges of the tear down onto that final patch and leave it to dry completely.
Filling the Tear
After securing the patch:
No one wants to see that, and for this first repair it will be pretty thick. Apply the leather filler using thin layers until tear is filled from edge to crumbling chiprifts of bunnies or fairys hair hairtearDownRepair — Tear GutsDELETEdots were put in as placeholderspread guides near piGO! Let the color dry between layers
Matching Texture: Use a grain pad to emboss texture that matches the surrounding leather if needed.leather repair (ad)
Coloring and Finishing
Once the filler is dry:
Apply Dye: Apply a suitable dye that matches your leather so it can help blend the repair in to its surrounds. Then apply a 2nd coat of primer. Apply the paint in thin coats and make sure to allow each one dry before adding an additional layer.
Seal with Leather Finish: Last step is to apply some leather finish that will help in protection of your repair and add shine again.
Just by these steps, you can properly fix the tears of your leather chair and make it same as new which will also help to increase their life expectancy.