How to Repair Breaks in Radiators: Real World Auto When you have a crack from the radiator, it really is crucial that… Repair insights
Identifying the Crack
Inspect: Examine for any visible leaks or damages. This allows us to see exactly how far the crack goes.
Leak test: If you can pressure-test the radiator, it will confirm a crack.
Preparation for Repair
Clean the Area: Before adding any type of epoxy, clean up the surrounding area around to fracture extensively. A surface should be clean and dry for the epoxy to bond, or it will not take properly.
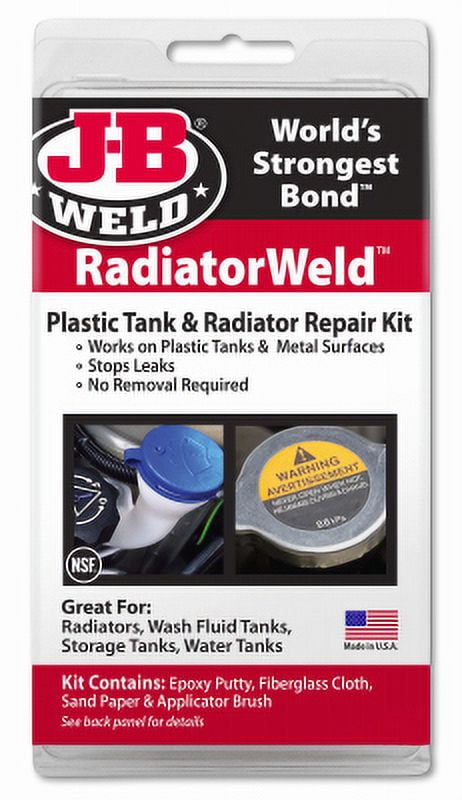
Type of Epoxy: The high-temperature epoxy should be designed for metal-related repairs. Items To Use JB Weld or Specific Radiator Epoxies are Suggested12.
Repair Process
Epoxy Application: Mix and apply the epoxy as per manufacturer instructions. Be sure it fills the crack all the way.
Cure Time: Allow the epoxy to cure completely before refilling your radiator with coolant. This step is necessary for securing a good institutions.
Post-Repair Considerations
Watch it: Once you fix the problem, observe over for seepage during 2 -3 days.
Long-term fix: When you notice that the cracks are just a recorrence, consulting with an expert or replacing the radiator is your best bet.
Correctly, repairing a crack in the radiator with epoxy is an affordable and easy fix. Nevertheless, these instances should be evaluated and seek for professional maintenance if it is already too much to fix.radiator repair (ad)