How to Repair Gouges in Engineered Hardwood Floors An efficient, systematic approach is required for successful repair of gouges in engineered hardwood floors. To help streamline this repair process, a comprehensive guide has been prepared.
Preparation Steps
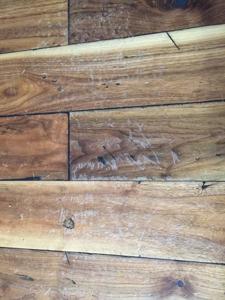
Examine the Gouge: Find out how serious and deep it is This will effect what type of filler is needed.
Clean the Site: Cease all dust or debris on his ailing area. Soft brush, then damp cloth to prevent further scratches.
Filling the Gouge
Choose the Correct Filler — Select a wax-based or non-acetone wood filler (that matches your floor color also). An added benefit to wax fillers is that they are simple to use and work with many wood colors.
Apply: Use a smooth edge flexible steel putty knife to apply the filler in gouge. Use only as much filler that the area is just slightly overfilled for sanding later.
How To: Filling the gouge at an angle to make sure that it covers and adheres better.
Finishing Touches
Sanding: After the filler has had time to harden, use sandpaper with fine grit and gently rub it until the repair is flush with your floor.
Seal: If needed, stain or finish the repaired part to match the rest of your floor.
Additional Tips
With shallow scratches, use a scratch concealer before filling in the gaps.engineered hardwood repair (ad)
If you have many spots that need fixing, repair them one by one and outline their positions with masking tape so as not to forget about where they are.
Test any product in a hidden area first to make sure it is safe for your wood floor finish.
With these steps, you can properly restore your engineered hardwood floors and help to keep them looking like new.