Underwater Fiberglass Pool Crack Repair In fact, many pool owners prefer this option because they don’t have to drain their pools for repairs. Here is a complete breakdown of that process, the tools and supplies needed.
Underwater Repair Explained
Why Repair Underwater?
Time and Money: Draining a pool can take ages as well being very expensive.fiberglass pool repair (ad) Repairing it under water, saves a lot of time & wastage of water.
Fastest Use: You can usually use the pool right away after you fix it as opposed to waiting anywhere from a few days to up 2 weeks or more for water.
Problems You Might Encounter with a Fiberglass Pool
Cracks and Leaks- As fiberglass pool get old, they develop cracks for many reasons like temperature changes, natural ground movements, structural stress.
Aesthetic Problems — Nobody wishes to look at a cracked up pool; that is why it has an obvious necessity of getting timely repairs.
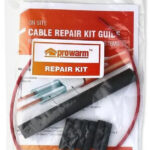
Materials Required for Repair
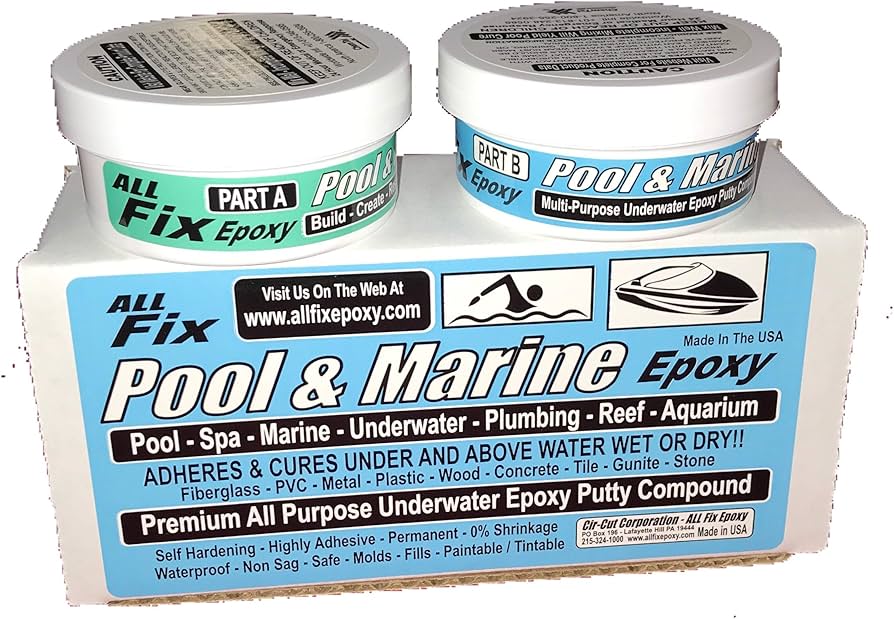
Epoxy Products
Underwater Epoxy: PC-Pool Putty — This is a one-step epoxy resin product that pools designed for underwater use, bonds well and cures without the need to drain your pool.
PC-11 Marine Epoxy: This marine epoxy is designed for use in a wet environment, perfect for doing repairs underwater.
Additional Tools
Goggles and Swimwear: To be able to feel more comfortable while looking and working underwater.
Mixing: You may need a mixing container or you can simply use your own hands to blend the two components of epoxy, depending on which product you choose.
Step-by-Step Repair Process
Prepare the Area:
Clean the crack really, well making sure to remove any grating or algae. This improves the bonding of the epoxy.
Mix the Epoxy:
Mix according to the directions from your manufacturer. The process generally involves mixing identical portions of resin and hardener until smooth.
Apply the Epoxy:
You can use your hands or a tool to push the blended epoxy deep enough into the crack. Making sure it fills the entire space without air pockets.
Smooth and Finish:
Use a spatula to smooth the surface (optional) This makes some epoxies to allow a little bit of fiddling before they finish cure.
Curing Time:
Give the epoxy ample time to dry as specified on whatever product of yours you end up using, before subjecting it to heavy traffic.
Considerations and Tips
Water Conditions: Confirm temperature of water and wider ambient temperatures are within the desirable range for curing epoxies.
Safety First: be sure to use gloves when handling epoxy to avoid an allergic reaction.
For major issues, or if small leaks remain after an attempted repair it may be necessary to consult a professional before you can hope for things to get back into the way they used cascade.
By completing these steps with the right materials, you can successfully fix cracks within your fiberglass pool without needing to drain it.