How to Repair Windows XP and Recover Data from an Old Computer essentially follows through a roadmap with the steps you should take in order to make both processes as smooth, if not heartache free. This post will help you how to do a repair installation using the windows xp Installation CD.
Repair Installation Preparation
When you have the Installation CD: Start by placing your Windows XP installation CD into the CDENEED DRIVE?
Reboot Your PC: Turn your computer on or restart it. If it does not boot from the CD on its own, you may have to change your BIOS settings so that the system boots from a cd as primary device.Windows XP repair (ad)
Perform a Repair Installation
Boot from the CD:Allow your system to boot entirely from the disc till you are presented with the screen which reads “Welcome To Setup”.
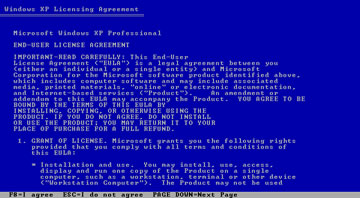
Choose Repair Option: Press R if it is just the matter of going to recovery console, otherwise boot from CD and then choose “To setup Windows XP now, press ENTER” again vow that you have read license agreement.
Finish Install: Completion of the repair installation processprompt. This will take little time and after you setup name for your PC, network setting etc. in Windows machine
Post-Installation Steps
Test IE6: After performing the repair installation, open IE 6 to make sure it’s working properly.
Download and Install Latest Service Pack: Last but not least, download the latest service pack available for Windows XP. This will update your system with all necessary security patches and improvements to guarantee that it is in perfect working condition (as far as an old OS like this one ever can be).
This repair method can solve a range of problems while keeping all your data, so it is an excellent option for users remaining on Windows XP.